No products in the cart.


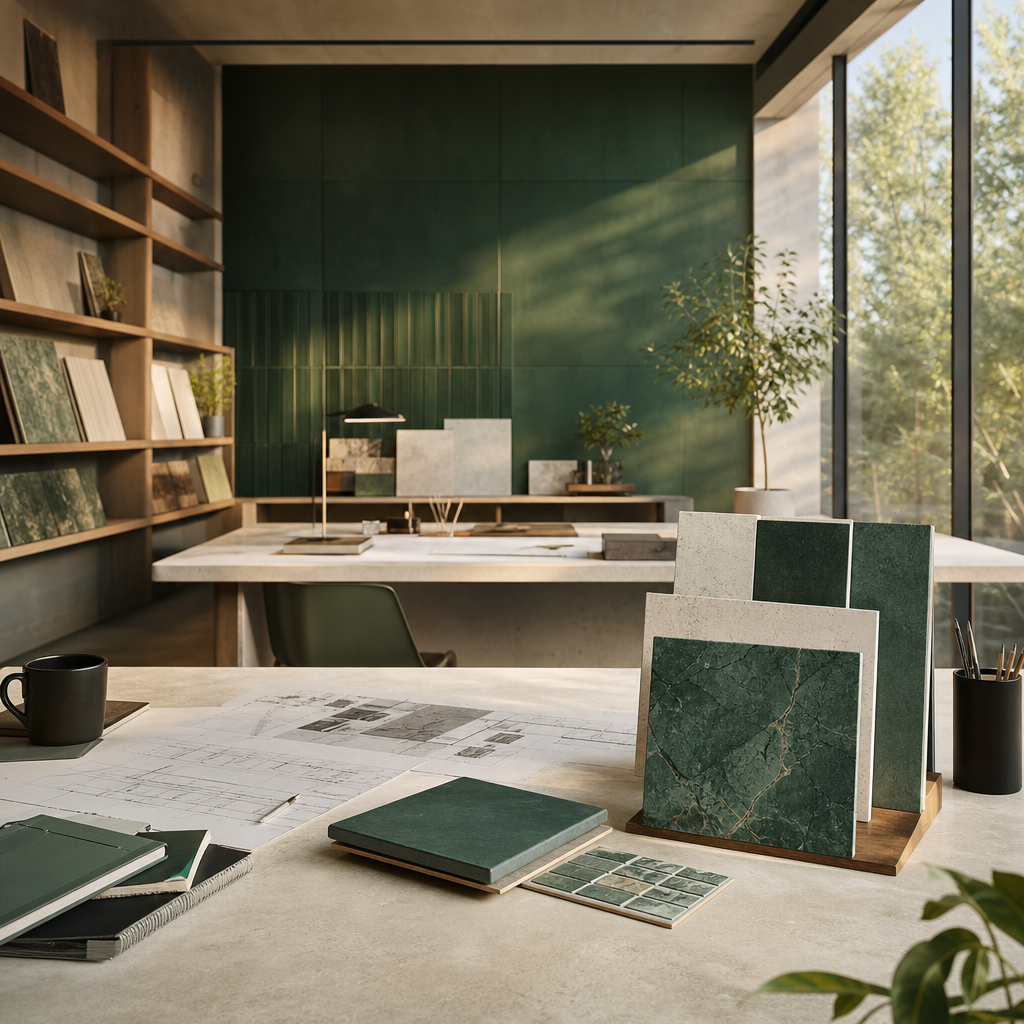
A complete tile specification turns a stack of floor plans into a room-by-room map that tells everyone which tile goes where, why it was chosen, and which safety and performance standards it meets. That single document keeps designers, contractors and clients aligned, and it is exactly what you build when you learn how to specify tiles for a construction project properly. Done thoroughly, the work usually takes 3–10 days of focused effort for a villa or apartment, and a few weeks for a large tower or hospital once sample reviews and supplier coordination are included. Because premium porcelain and stone-look surfaces sit at the higher end of the finishes budget, it pays to lock specifications before final costing and tendering. At Agata Iraq, we help homeowners, architects and developers build that map from curated collections, manufacturer test data and local project experience.
Table of contents
What the finished specification gives you
The outcome is a coordinated set of decisions, not just a shopping list. Every space gets a tile matched to how wet it becomes, how much traffic it carries, and how easily it must be cleaned. For a villa or apartment, expect 3–10 days to define requirements, shortlist options, review samples and finalize the schedule. A mid-size commercial project or residential tower typically runs 2–4 weeks because architects, interior designers and developers all sign off in turn.
On cost, tiles often represent a meaningful share of the interior finishes budget, and premium porcelain and natural-stone-look surfaces sit at the upper end of that range. Fixing the specification early protects the budget: it prevents last-minute substitutions that either miss a safety threshold or inflate the price during procurement. Working from our curated porcelain and stone-look collections and their technical data lets you tie each choice to a residential, commercial or healthcare use before numbers are committed.
Prerequisites before you specify a single tile
Specifying colours before the groundwork is set is where most schedules unravel. Have this ready first:
- Final or near-final floor plans with room names and accurate dimensions.
- A clear project type: villa, apartment building, office tower, retail, hospitality, or hospital and clinic.
- A use category for each room: dry versus wet, interior versus exterior, public versus private, light versus heavy traffic.
- Safety criteria per space: slip-resistance needs for ramps, entrances, bathrooms, kitchens, pool surrounds and healthcare corridors, expressed as a coefficient of friction or a ramp classification.
- Structural and envelope decisions: load-bearing substrates, waterproofed zones, and whether underfloor heating or cooling is planned. These affect tile choice but must be designed by qualified professionals.
- An aesthetic direction, ideally a moodboard: modern, minimalist, Scandinavian, or a specific classic language, with colours, textures and patterns.
- A budget range per square metre, plus a contingency for waste, special trims and decorative pieces.
- A named sign-off team: who approves the specification, and who talks directly to our showroom.
- Access to manufacturer catalogues and data sheets. Our curated tile catalogue in the shop and our brand collections consolidate the technical information you will cross-check throughout.
With this checklist complete, every later decision has a criterion behind it rather than a preference alone.
The step sequence for a reliable tile schedule
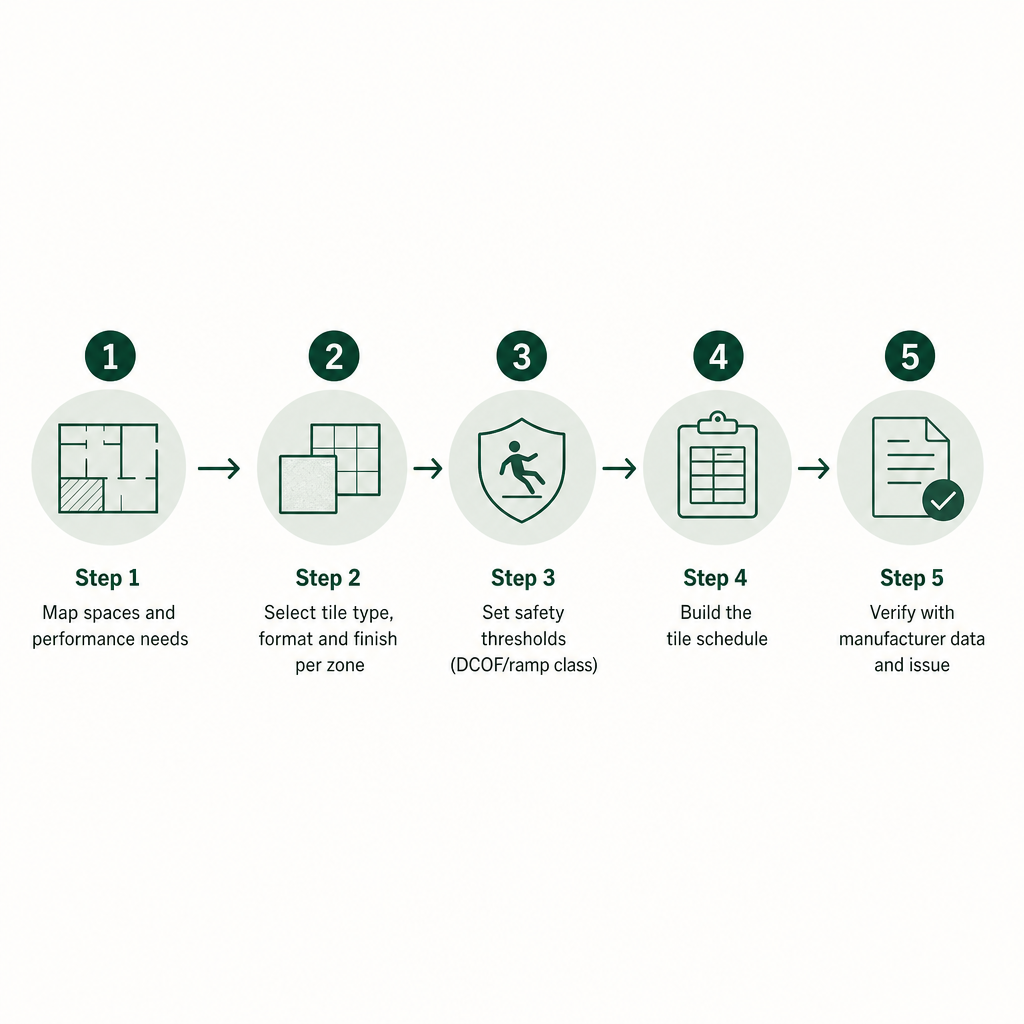
1. Map each space to its performance requirements
Go room by room and answer three questions: how wet can this surface realistically get, how many people (and what trolley or footwear traffic) pass daily, and how easy must cleaning or disinfection be. Those answers sort each area into categories such as interior dry low-traffic (bedrooms), interior dry high-traffic (lobbies, corridors, retail), interior wet high slip-risk (bathrooms, kitchens, healthcare corridors) and exterior exposed (terraces, balconies, outdoor stairs).
Manufacturers test tiles for water absorption, mechanical strength and slip resistance under standards such as IS 15622 and ANSI A137.1 / A326.3, plus European ramp tests, which gives you measurable targets. Three concepts recur: water absorption (porcelain typically sits below 0.5%, suiting wet and demanding areas), slip resistance (measured by Dynamic Coefficient of Friction or by ramp classes R9–R13 for shod feet and A–C for barefoot zones), and wear resistance (often shown as PEI grades for glazed tiles). You will find these values in our brand catalogues and on individual product technical sheets.
2. Choose tile type, format and finish per zone
For each category, decide the body type first. Porcelain handles high-traffic, wet or demanding areas: kitchens, healthcare corridors, public lobbies and outdoor terraces. Suitable ceramic wall tiles serve bathrooms, kitchens and decorative walls where water absorption and mechanical loads are lower.
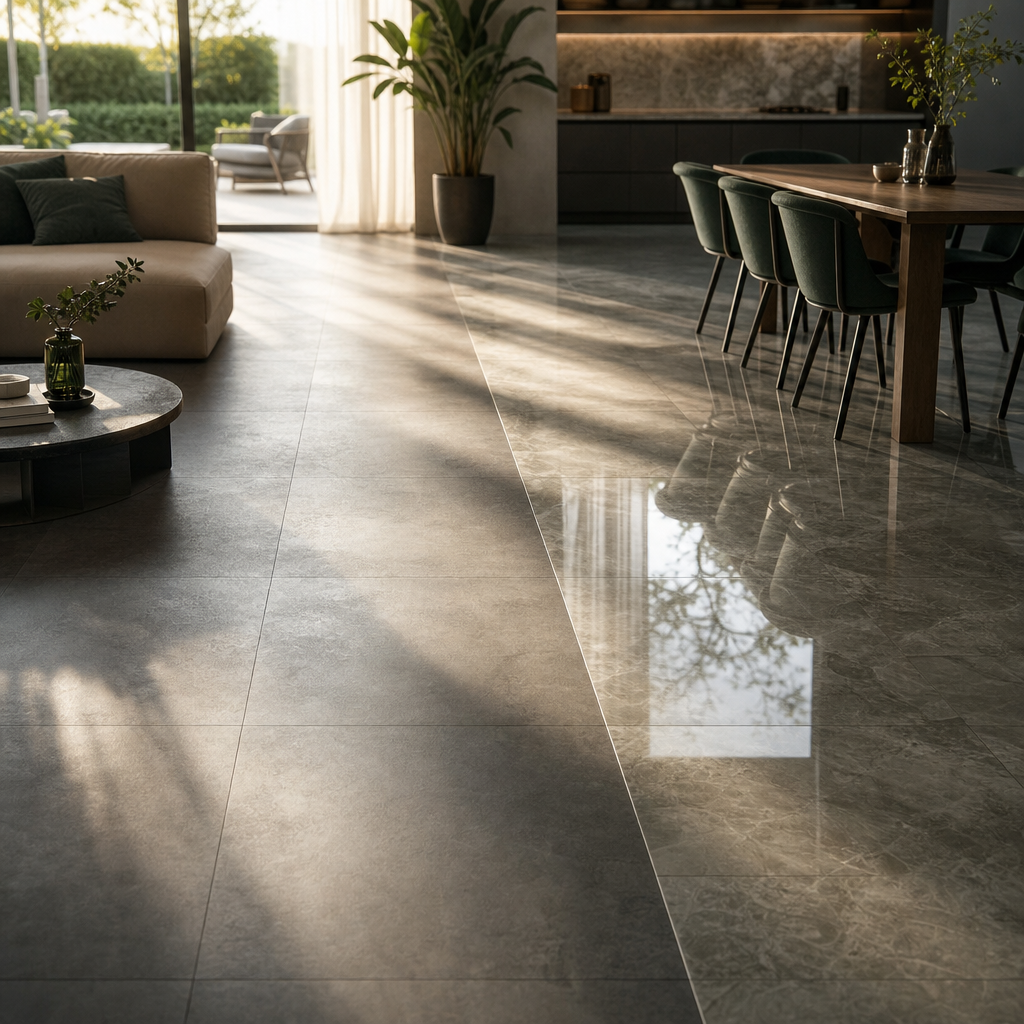
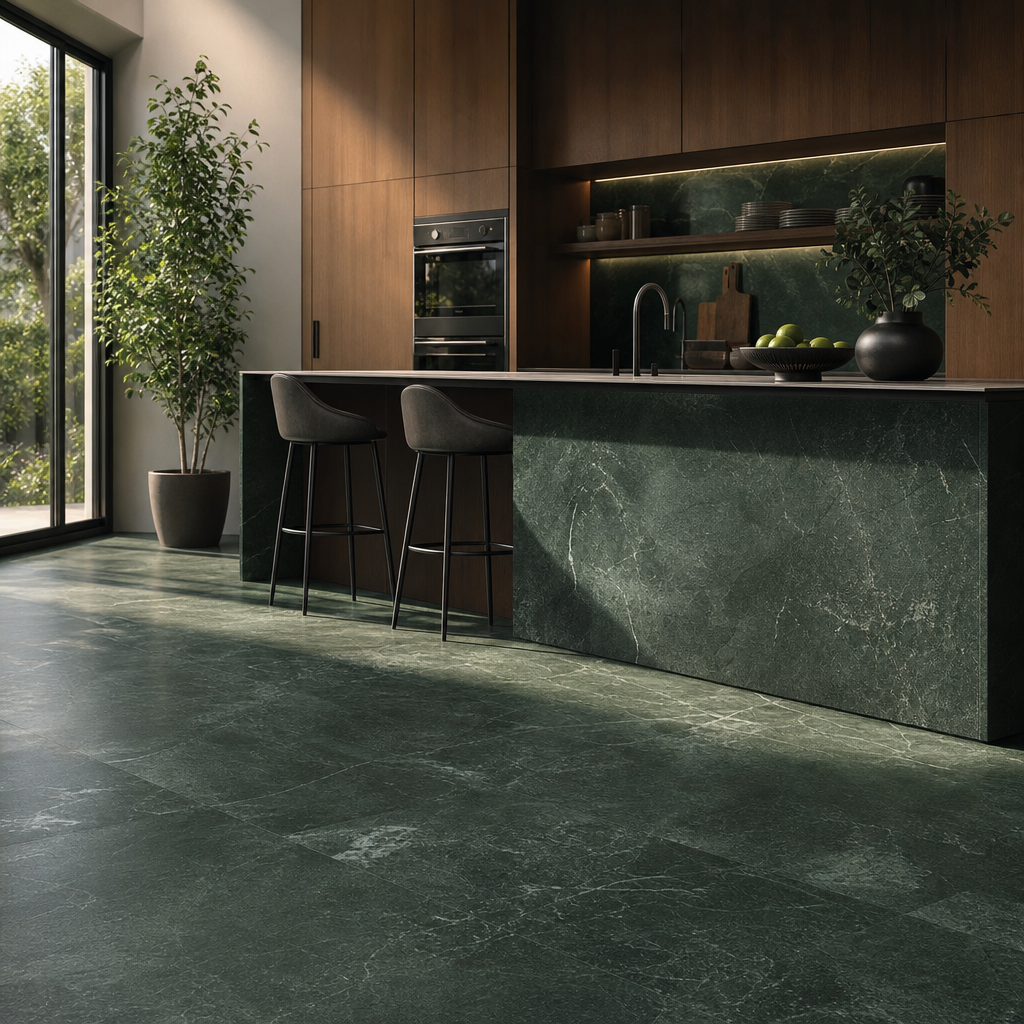
Then fix format and thickness. Standard formats such as 60×60 or 30×60 simplify laying and cutting for most floors and walls, while large-format slabs create feature walls, kitchen islands and near-seamless surfaces that require professional handling. Finish follows the same logic: matte, structured or anti-slip surfaces for wet and exterior floors aligned to a DCOF or R-rating target, and satin or polished finishes for walls, dry living areas and decorative panels where slip risk is low. Our shop presents porcelain and stone-look collections, from the Travertine Silver stone-look tile to the contemporary Abstra porcelain series, so you can pair a performance requirement with a visual style rather than compromising one for the other.
3. Set safety and regulatory thresholds in writing
Even where a local consultant applies Iraqi building regulations, set clear minimums drawn from accepted manufacturer and international guidance. For interior level floors walked on when wet, select a wet DCOF of at least 0.42, as recommended in ANSI A326.3 and related slip-resistance and DCOF guidance. For higher-risk commercial or healthcare zones such as ramps, entrances and kitchens, aim for stronger traction, often reflected in ramp classes around R10–R12 depending on likely contaminants. Some accessibility documents suggest a higher coefficient of friction for commercial applications; while these are not Iraqi law, they illustrate why public buildings need more traction. Write each threshold into the schedule, then validate it against the manufacturer test reports supplied through our brand documentation.
4. Define aesthetics, layout and joint details
With performance settled, refine the look. Choose a coherent palette across floors and walls, remembering how Iraq’s strong daylight and artificial lighting change how a surface reads. Decide between stone-look, concrete-look, wood-look or minimalist solids to match the project’s direction. Settle the layout pattern early, because herringbone or complex sets increase cutting, waste and installer skill. Specify approximate joint widths (often 2–3 mm for rectified porcelain) and a grout colour family, since both shape the final look and the cleaning routine. Rectified edges allow tight, minimalist joints but demand careful substrate preparation. Our collections are curated to work together visually, which keeps a consistent modern language across a whole project while each tile still meets its own performance target.
5. Build and verify the formal tile schedule
Assemble a document that lists, for every space: room name and function; surface (floor, wall, skirting, stair tread and riser, countertop cladding); tile product name and code; manufacturer and brand; size, thickness and edge type; finish and colour; and the key technical values, including water absorption class, PEI grade where relevant, the slip-resistance measure, and any chemical-resistance rating for special areas. Add notes on installation pattern and special trims such as step nosings and corner pieces. This is the document contractors, quantity surveyors and suppliers rely on, so cross-check every entry against manufacturer data sheets. For each shortlisted tile, confirm slip resistance and absorption against the room’s requirement, and make sure any large-format slab or special finish is explicitly approved by the maker for its intended use, whether floor, wall or façade. Our showroom and technical team can interpret these reports and suggest alternatives when a preferred look does not clear the required threshold. If you compare stone-look porcelain against natural stone for worktops, our note on marble versus porcelain slabs for countertops sets out the trade-offs.
6. Estimate quantities, secure supply and confirm samples
Measure net floor and wall areas from the drawings, then add a waste factor, commonly 8–15% and higher for diagonal or complex patterns. Separate quantities by room and product to form a clear bill of quantities, then request quotations and lead times covering tiles, trims, special pieces and any complementary slabs. Before sign-off, review physical samples under the project’s own lighting to confirm colour, texture and slip feel, and for critical areas such as healthcare corridors, pool surrounds and steep ramps, consider a small on-site mock-up. Only after that review should final specifications be issued to contractors and procurement.
Common mistakes and how to avoid them
| Mistake | Why it hurts | How to prevent it |
|---|---|---|
| Ignoring slip resistance in wet or public areas | Glossy, low-traction tiles raise fall risk in bathrooms, entrances and corridors | Require wet DCOF ≥0.42 for interior wet floors and suitable ramp classes for higher-risk zones, verified in test data |
| Using wall-rated tiles on floors | Wall tiles can lack the strength and wear resistance for foot traffic | Check PEI grade and mechanical strength; use floor-rated products for any walked-on surface |
| Overlooking water absorption | High-absorption tiles degrade or stain early in wet and exterior locations | Prefer porcelain (≤0.5% absorption) for showers, spas, exteriors and heavy-duty zones |
| Mixing batches without shade checks | Batch tone differences show on large floors and feature walls | Order from one batch where possible and confirm batch consistency across deliveries |
| Underestimating maintenance | Heavily textured anti-slip tiles can be hard to clean without the right method | Match slip resistance to a realistic cleaning protocol with facility managers |
The recurring theme is simple: a tile that looks right can still be wrong for its room if the numbers were never checked.
Where DIY ends and professional input begins
Homeowners and non-specialist developers can comfortably set the aesthetic direction, map basic room usage and personal comfort (warmer tones in bedrooms, higher traction in bathrooms), and shortlist collections from our shop before requesting showroom guidance. That early involvement makes the later technical work faster.
Bring in architects, interior designers and our technical team once the project is a multi-unit building, office tower, mall or hospital; once you must meet accessibility or formal slip-resistance requirements for public circulation; once large-format slabs, ventilated façades or complex detailing appear; or once there are hygiene and chemical-resistance needs for clinics, laboratories or commercial kitchens. For healthcare work specifically, our guide to surface materials for hospital interiors explains the tighter thresholds involved. Specification at this scale is not a fully DIY exercise; treat us as a design-led partner that brings manufacturer standards, curated products and local project experience together. Once your schedule is drafted, the fastest next step is to share your plans, room list and target budget so we can tailor a shortlist and quotation.
Frequently asked questions
How does Iraq’s climate affect tile choice?
Intense heat, dust and occasional heavy rain mean exterior tiles need low water absorption, dependable wet slip resistance and surfaces that clean easily. Porcelain with structured finishes is often preferred for terraces and outdoor stairs.
Which tiles suit villas versus towers?
Villas usually prioritise comfort, warm aesthetics and indoor–outdoor continuity, while towers demand higher wear resistance and stricter slip thresholds in lobbies and corridors. In both cases, specifying from tested collections keeps each tile matched to its intended use.
Are there special requirements for hospital flooring?
Hospitals need high slip resistance, strong chemical and stain resistance, and easy-clean surfaces for infection control. Manufacturer test reports under standards such as IS 15622 and ANSI A137.1 should be reviewed alongside local healthcare guidance.
How early should tile specification be completed?
Finalise it before interior tendering and well before installation, during detailed design, so safety thresholds, quantities and procurement lead times are all confirmed in time.
What slip rating should I request for a home bathroom?
Aim for floor tiles achieving at least wet DCOF ≥0.42 or a suitable barefoot ramp classification per manufacturer guidance. Matte or lightly structured finishes meet this target while staying comfortable underfoot.