No products in the cart.


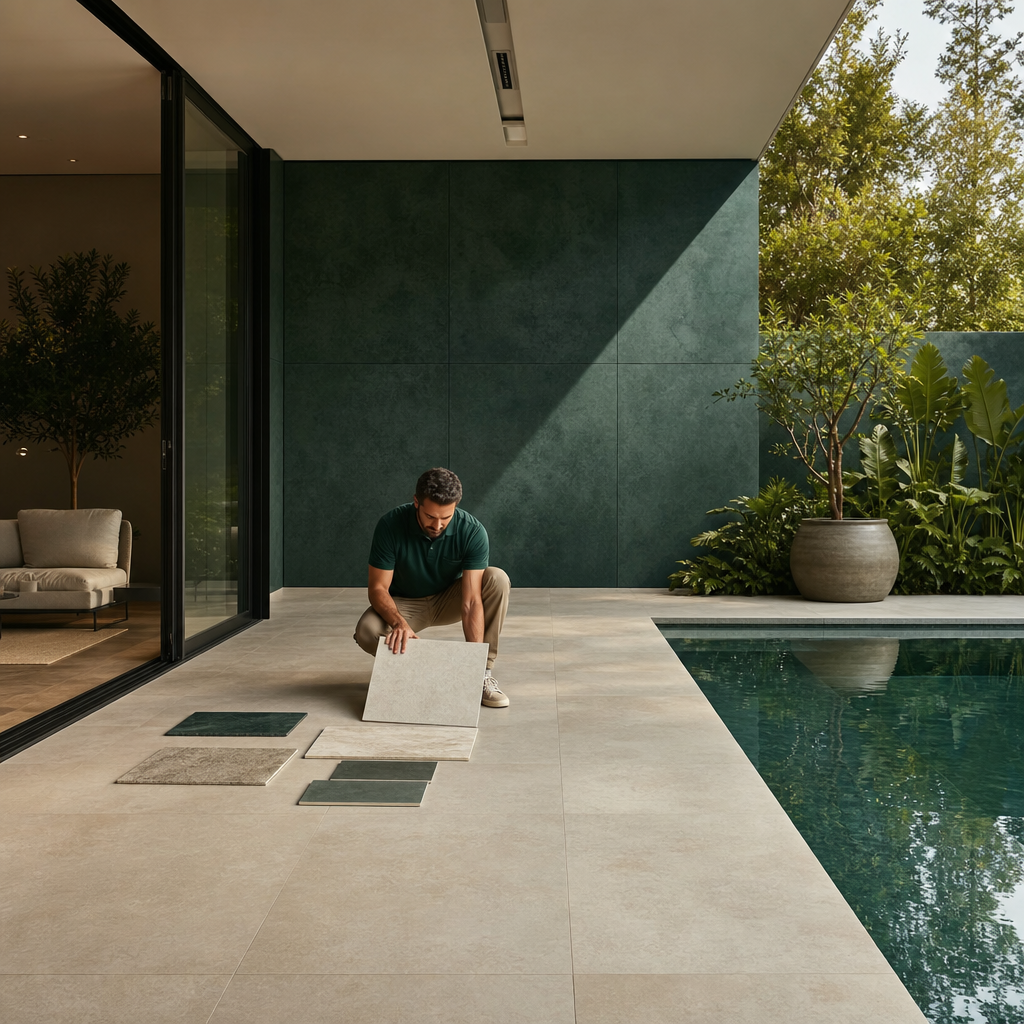
Specifying floor tiles for an entire villa is really a sequence of performance decisions dressed up as a style choice. Get the order right and the look follows; get it backwards and you end up with a beautiful polished floor that turns slippery in the bathroom. The practical path for how to choose floor tiles for a villa is to define how each space is used, then select durable, slip-resistant porcelain or stone-look surfaces that suit your design, budget and climate. Expect roughly 3–7 days for design and approvals and 1–3 weeks for professional installation, depending on villa size and crew availability. Flooring will be a meaningful but controllable slice of the interior budget, and it rises when large-format porcelain and stone-look surfaces carry the main living areas and suites.
At our Agata Iraq showroom we work through this with homeowners, architects and developers every week, so the guide below mirrors the same order we use when we help you brief a project: zones first, materials and ratings next, aesthetics and layout after that, then quantities and installation.
Table of contents
Before you compare a single tile
Most selection headaches come from shopping for looks before the brief is ready. Settle these first and every later decision gets faster:
- A clear floor plan with room functions: formal majlis, living room, bedrooms, kitchen, bathrooms, corridors and terraces.
- Measured areas in m² for each zone, including closets and niches.
- A decision on the overall interior style — modern, minimalist, Scandinavian or classic.
- A preliminary budget per m² covering tiles, adhesives, grout and labour.
- Information on the existing substrate: concrete slab, screed quality, any underfloor heating.
- Traffic and moisture levels per room, from the entry and stairs to bathrooms and the garage.
- Preferred finishes noted up front: matte, semi-polished, polished, textured or anti-slip.
- Awareness of safe-surface expectations for wet and outdoor areas.
With those in hand, you can move through the decisions in a logical order rather than falling for the first slab that catches your eye in the showroom.
Map villa zones by use, traffic and moisture
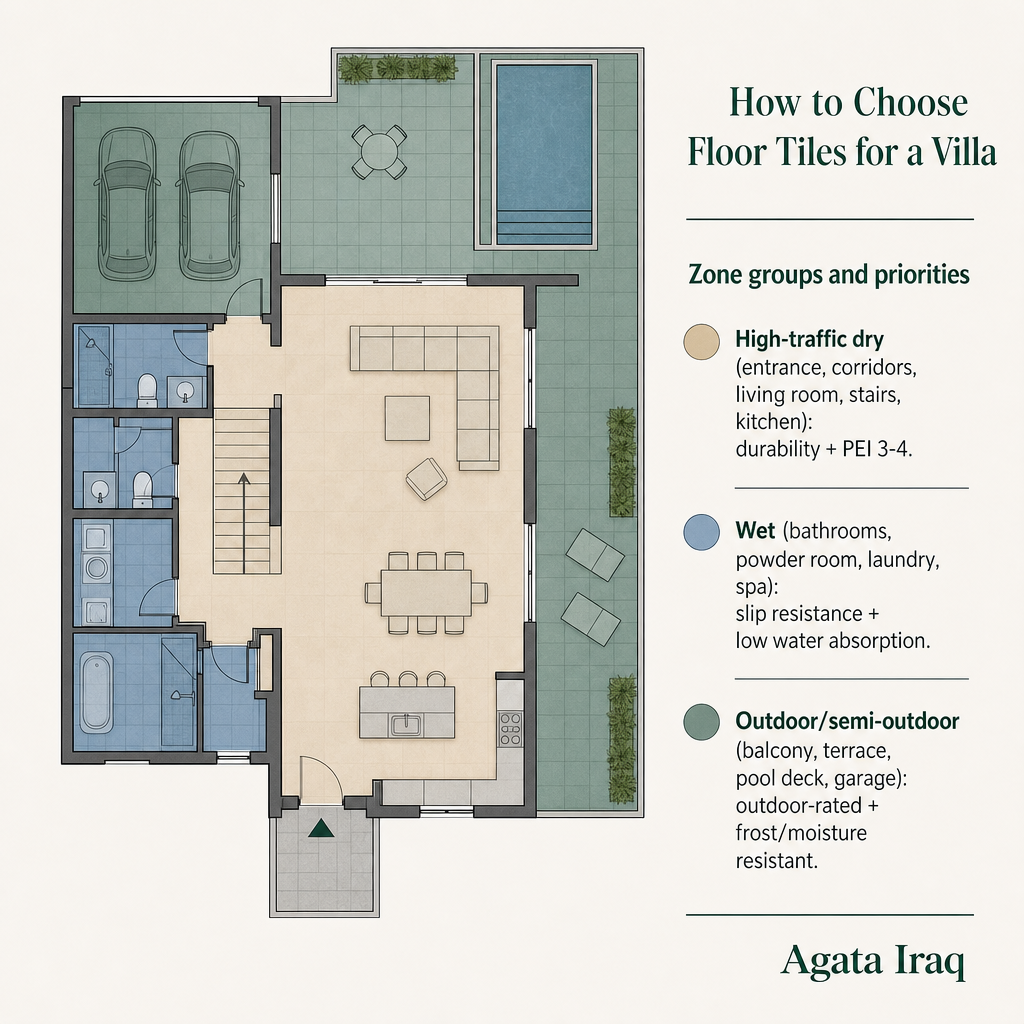
Treat the villa as a set of zones, not one floor. Classify every area before colour enters the conversation. High-traffic dry zones cover the entrance, corridors, living room, stairs and kitchen. Wet zones include bathrooms, powder rooms, laundry and any spa. Outdoor and semi-outdoor zones span balconies, terraces, pool decks and the garage.
Layer in who lives there. Elderly residents and young children push you toward higher slip resistance and safer finishes. Spaces where guests arrive first — the entrance lobby and main majlis — usually carry the most luxurious aesthetics, which is where marble-look porcelain earns its place.
These classifications set the performance brief for each zone: durability, water absorption and slip rating. Fixing these before aesthetics is what keeps a project from drifting into expensive compromises later.
Choose the core material for each floor
For modern Iraqi villas, porcelain is usually the safest, most versatile choice. It is harder, denser and less porous than standard ceramic, so it holds up better in high-traffic and wet areas. Its very low water absorption — typically 0.5% or less — improves stain resistance and moisture performance in kitchens, bathrooms and terraces. Quality porcelain is produced in marble, travertine, concrete, wood and metal looks, giving a natural-stone appearance with more consistent performance and simpler upkeep than real stone.
Standard ceramic is acceptable for light-traffic residential floors but wears faster in a busy villa. Natural stone such as marble, limestone and travertine is genuinely luxurious, yet it usually needs sealing, ongoing maintenance and careful slip-resistance selection, especially where water is involved.
For most villas the practical specification is porcelain across all heavy-use and wet floors, with stone-look porcelain tiles or slabs wherever you want a premium, continuous surface that stays easy to maintain. If you want to weigh a high-end stone look for prestige rooms, our overview of marble-look porcelain slabs in Iraq explains where that surface makes the most sense.
Read the ratings that actually matter
Appearance tells you nothing about whether a tile will survive your corridor. Ask us or any supplier for the technical data and confirm a few numbers before committing.
Start with use classification and grade. The tile must be rated and graded for floor use, not walls alone, and Grade 1 or 2 suits most villa interiors. Next, read the PEI wear rating, which measures surface resistance to wear on glazed tiles; PEI 3–4 is generally suitable for residential kitchens, entries and corridors. Slip resistance is non-negotiable in wet areas: bathrooms, terraces and pool surrounds need tiles with slip-resistant surfaces or textures, and polished or glossy finishes have no place inside showers and bathrooms — use matte, textured or structured finishes there instead. Finally, check thickness; floor tiles typically run 8–12 mm, with thicker tiles handling traffic better as long as they work with doors and transitions.
| Zone | Suggested finish | Rating focus |
|---|---|---|
| Living room, corridors, stairs | Matte or semi-polished | Floor-graded, PEI 3-4 |
| Kitchen, entrance | Matte, slip-aware | PEI 3-4, floor-graded |
| Bathrooms, wet rooms | Matte, textured, structured | Slip resistance first |
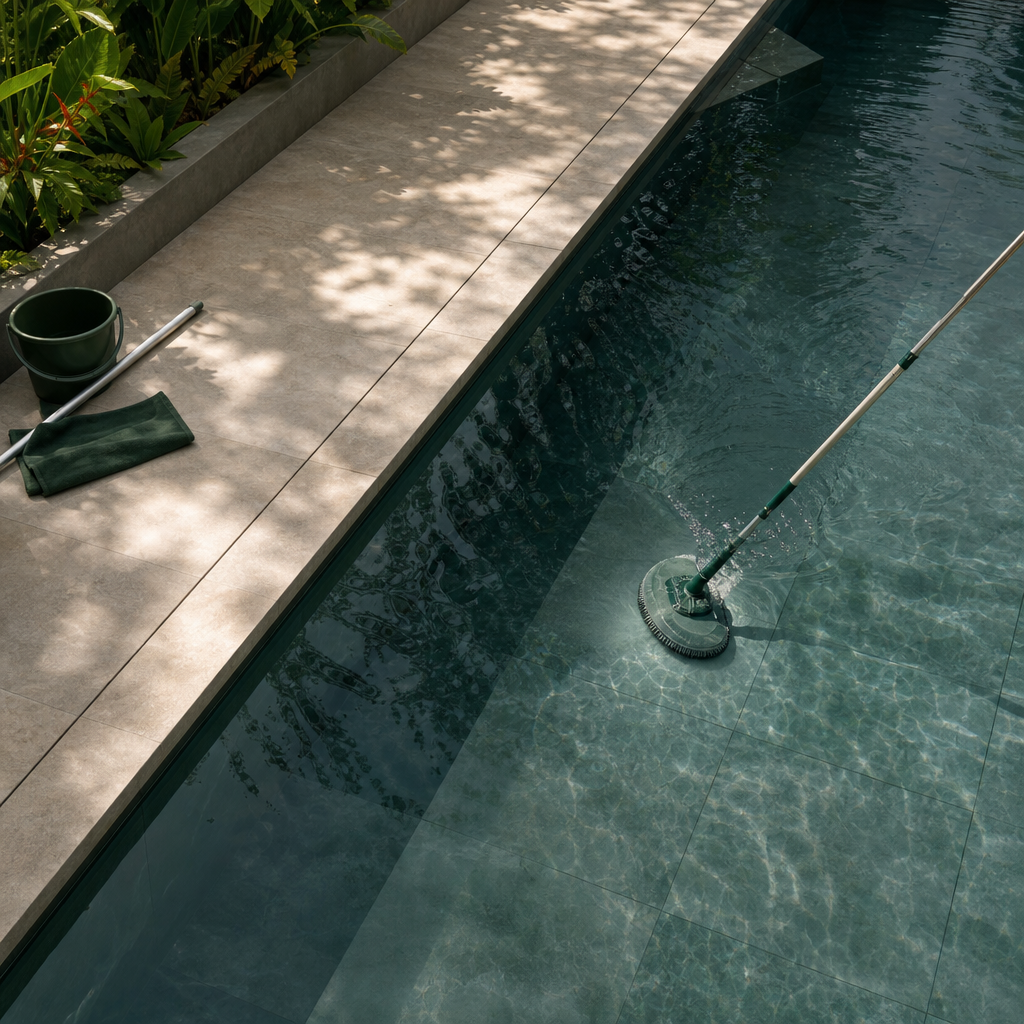
| Terrace, pool deck | Structured, anti-slip | Outdoor-rated, low absorption |
Confirm that every tile is explicitly rated for its intended location. Never let the finish photo stand in for the spec sheet.
Match aesthetics, format and layout to the villa
With performance locked, aesthetics become a safe place to play. For modern and Scandinavian-inspired villas, light neutral porcelain with subtle texture makes enclosed or compact spaces feel open and bright — the same logic behind the light, slip-aware finishes we recommend in our kitchen tiles ideas for homes in Iraq. In large living rooms and entrance lobbies, marble-look porcelain creates a hotel-like impression while keeping maintenance manageable, and travertine- or concrete-look tiles pair naturally with minimalist interiors and simple wall finishes. Our collections group porcelain and stone-look surfaces around modern, minimalist and Scandinavian aesthetics so the look stays coherent from living areas to suites and bathrooms.
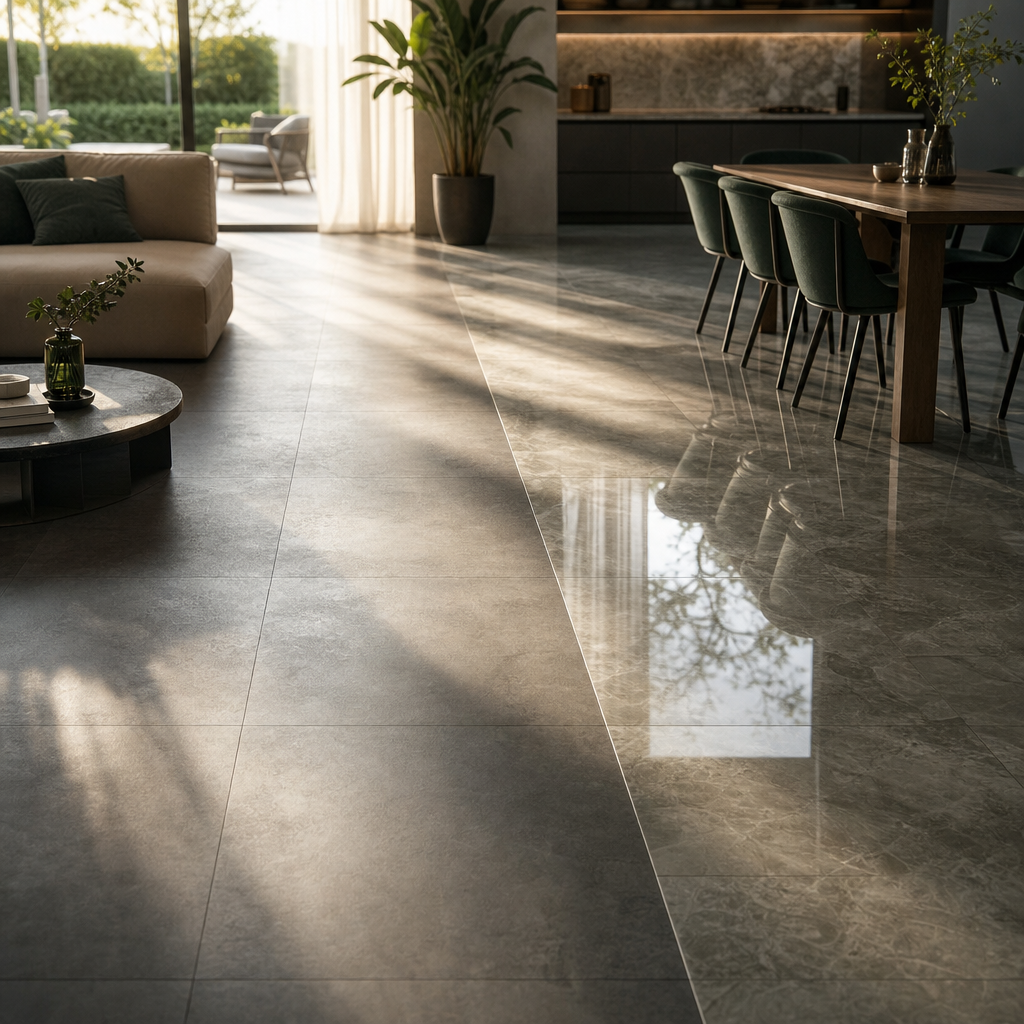
When you refine, discuss the colour palette (warm versus cool neutrals), the pattern intensity (quiet veining versus bold marble, subtle versus strong texture) and the finish per room — matte for most floors, semi-polished in dry luxury spaces, structured in wet zones.
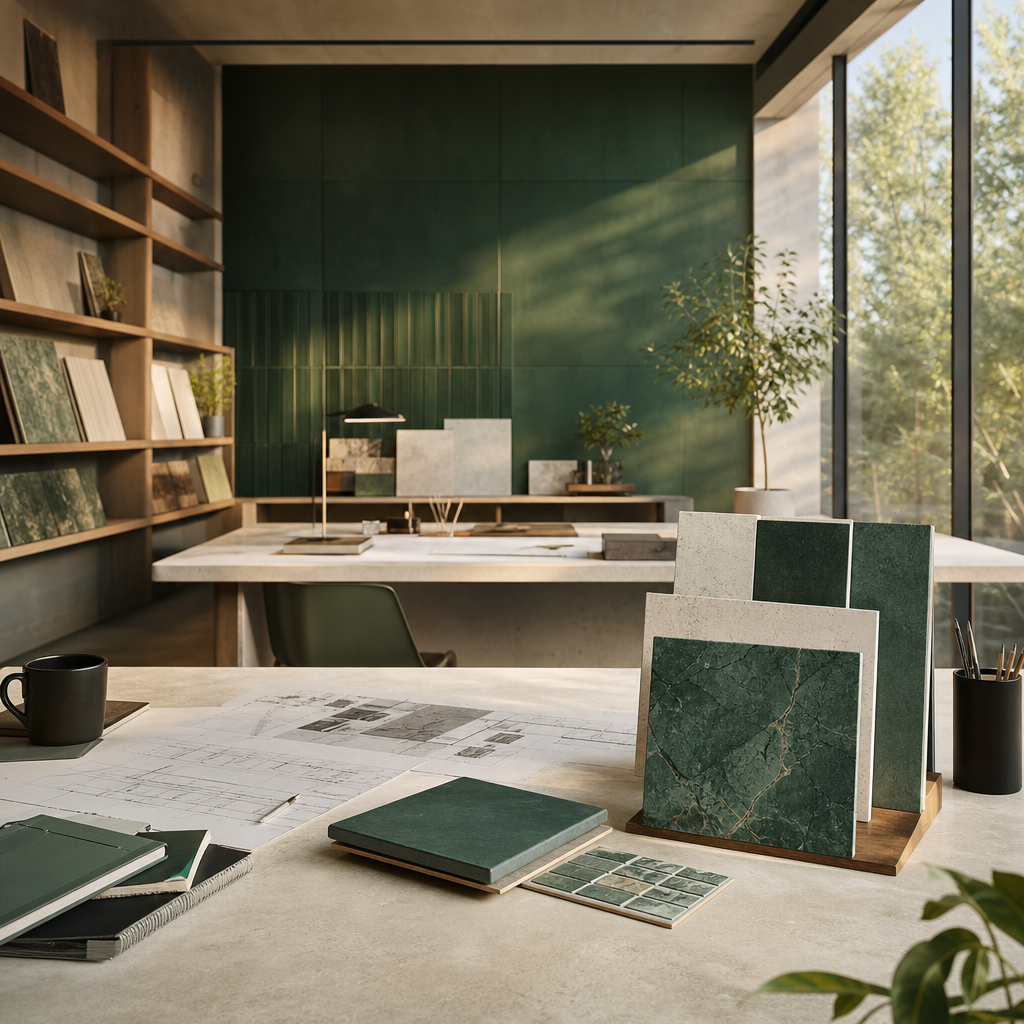
Format and layout then shape both the feel and the installation. Large formats such as 60×60 cm and above create fewer grout lines and a more seamless surface in open-plan living and corridors. Rectified tiles, with precisely cut edges, allow tighter joints of roughly 1.5–3 mm for a clean modern line, which is why narrow joints and rectified edges suit minimalist villas with continuous floors. On layout, avoid simple 50% brick patterns with very long planks or large rectangles; stagger joints by about one-third of the tile length to reduce lippage and visual banding. Plan transitions between rooms and from indoors to the terrace so you avoid awkward cuts and thin strips at the edges. Reviewing sample boards and seeing tiles laid out in their intended pattern beats judging a single piece in your hand.
Verify quality, then calculate quantity and budget
Before a tile is confirmed, run a short quality check. Ensure all tiles come from the same production batch, or dye lot, to avoid colour variation, and confirm size consistency so they align correctly during installation. Inspect several pieces for warping, chips, bubbles, cracks or surface defects, and check that edges are straight and clean — especially on rectified formats. For exterior and semi-exposed areas, insist on tiles rated for outdoor use with low water absorption and frost resistance. At our showroom we can provide technical specifications, certificates and samples to support each of these checks.
Then settle the numbers with your architect or our consultant. Calculate total m² per zone and add a contingency for cuts, waste and future repairs — roughly 5–10% beyond the net area for complex layouts or large formats. Build total cost from tile price per m² plus installation materials (adhesive, grout, levelling systems) and labour; higher-end porcelain and stone-look surfaces raise the per-m² figure but can lower long-term maintenance compared with softer materials. Decide on phasing too, whether you tile all floors at once or by level to match the construction or renovation schedule. Keep a small stock of spare tiles from the same batch for future repairs in high-visibility areas.
DIY or professional installation
Porcelain — large formats and slabs in particular — is tough, dense and harder to cut than simpler materials, which makes it a poor fit for casual DIY. Consider doing it yourself only when the area is small and low-risk, such as a storage room, the tiles are not large-format or very hard porcelain, and you already own proper tools like a professional tile cutter and levelling systems plus real floor-tiling experience.
Professional installation is strongly advised when you are laying large-format porcelain or slabs in main living spaces and entrances, when floors must meet flatness and level tolerances across big open areas, and when bathrooms, wet rooms and terraces need correct waterproofing, gradients and slip-safe surfaces. For most villas, the dependable approach is to let qualified installers handle preparation, cutting and laying while you and your designer concentrate on selection and layout.
Mistakes that cost the most to fix
A handful of errors show up again and again, and every one is preventable at the specification stage.
- Polished tiles in wet areas. They turn slippery when wet. Use textured or matte tiles with suitable slip ratings and reserve polished finishes for dry living rooms and bedrooms.
- Ignoring use ratings and PEI. The result is premature wear in kitchens, entries and corridors. Confirm each tile’s PEI and floor suitability before purchase, aiming for PEI 3–4 in busy zones.
- Putting wall-only tiles on the floor. They lack the strength for foot traffic and can crack or fail. Use tiles expressly rated and graded for floors throughout.
- Under-ordering. Reordering from a different batch introduces visible colour shifts. Include a 5–10% allowance from the same dye lot.
- Skipping substrate preparation. Uneven or weak bases cause lippage, hollow sounds and cracking. Ensure a strong, level subfloor before installation.
- No cohesion across rooms. Open-plan villas look fragmented when floors clash. Build around one primary floor tile with complementary accents, guided by a design-led showroom.
Frequently asked questions
What type of floor tile is best for a high-end villa in Iraq?
Porcelain floor tiles are generally best because they combine high durability, low water absorption and wide aesthetic range, including marble-, travertine- and concrete-look surfaces suited to luxury villas.
Can I use the same floor tile inside and on my villa terrace?
Yes, provided the tile is rated for both indoor and outdoor use with low water absorption and appropriate slip resistance. Many porcelain tiles meet these requirements and resist moisture and freezing.
Are marble-look porcelain slabs suitable for large living rooms?
They are. Marble-look porcelain gives the appearance of natural stone with more consistent performance, lower porosity and simpler maintenance, which fits large, prestigious spaces well.
How many extra tiles should I buy for my villa project?
Plan for about 5–10% more than the net floor area to cover cuts, layout adjustments and future repairs without switching dye lots.
What finish should I choose for bathrooms and kitchens?
Use matte or textured tiles with good slip resistance, and avoid polished surfaces in wet areas to reduce the risk of slips.